Get in touch
555-555-5555
mymail@mailservice.com

Kitchen Cleaning: A Step by Step Guide to Deep Cleaning Your Kitchen

sites • Jun 21, 2022

We take a look at how to deep clean a kitchen. Check out our guide for tips about kitchen cleaning and the best methods to get your kitchen thoroughly cleaned.


If you had to take a guess, which room in your home would you say holds the most germs? Was your guess the bathroom? Many people are quick to believe the bathroom is the germiest room in the house. 

However, that's not necessarily the case. Although germs do collect easily in bathrooms, there's one room that holds even more germs. That room is the kitchen

Lack of kitchen cleaning causes dish sponges/rags to harvest lots of bacteria. You can also find bacteria growing on cutting boards, the kitchen sink, countertops, and coffee makers. The kitchen might be the home's dirtiest room, but that doesn't mean you have to settle for this.

When you take the appropriate steps to deep clean a kitchen, you can remove these nasty germs and create a safe and clean environment. In the guide below, you'll find several helpful kitchen cleaning tips. Continue reading for our ultimate kitchen cleaning checklist!

Clean From Top to Bottom

Before getting started, some good advice about kitchen cleaning is to clean from top to bottom. If you choose to clean in a different direction, then you could end up making more work for yourself. For example, if you wipe down the countertops and then decide to dust the light fixture, where does that dust go? 

It lands right on top of those countertops! Don't make cleaning more difficult than it has to be. Start with your highest surfaces and work your way down. 

You can consider dusting and cleaning the ceiling and light fixtures first before making your way down to the top of the cabinets and refrigerator and so on. 

Dust the Light Fixtures and Exhaust Fan

It's often easy to forget about dusting and cleaning the surfaces you don't see on a daily basis. You tend to start cleaning surfaces that are eye-level or just above eye level. However, if you want to remove all dirt and germs from your kitchen, then you need to start at the very top.

Dust your ceilings and all around the light fixtures. You can then move on to the tops of your high cabinets, refrigerator, and exhaust fan. Although most grease will splash under the exhaust fan's hood, lots of dust and grease will accumulate on top of the hood as well. 

After you remove the dust, you should then use your cleaning products to clean and sanitize these surfaces as well. Do this for all surfaces in your kitchen. 

Do the Dishes, Then Clean the Sink

Is your sink overran with towers of dishes? It only takes one home-cooked meal to fill up your sink with dirty dishes. Start breaking this tower down by cleaning each dish. 

Use your dishwasher when possible to save yourself time. Do this near the beginning of your cleaning process so the dishwasher has time to clean the dishes. You can then remove the dishes at the end of the cleaning process and clean the dishwasher out then as well. 

After all the dishes are removed from the sink, be sure to clean and sanitize your entire sink as well. 

Remove Everything From the Refrigerator

If your refrigerator is packed to the top with so many food items that you're not even sure what you have, then it's time to remove everything from inside of it. In order to clean and organize your refrigerator, you need to take everything out and review the expiration dates. Throw out anything that's old or expired. 

Clean out the entire refrigerator using the cleaning products of your choice and ensure all shelves and drawers are dry. You can remove shelving and drawers for a simplified cleaning process. Replace them once dry.

Then, purchase organizers and labels to use inside of it. All drinks can go in one bin while all snacks go in another, and so on. Check out a few refrigerator organizing hacks for the ultimate setup. 

Scrub the Stove, Then the Oven

As you cook, lots of food splashes onto the stove and drips inside of the oven. If you don't clean these messes up quickly, the stains can become difficult to remove. It might also attract bugs. 

Scrub the stove using the right method for the type of stove you have. For example, glass top stoves will require a special soft pad to prevent scratches. If your stove has removable burners, then you can gently remove these and clean them as needed. 

Don't forget to clean the area under the burners as well. The knobs and vent hood should release so you can pop them off for a good cleaning. If your stovetop releases as well, then be sure to remove it to clean under that surface area also. 

Next, open the stove and remove the shelves. Place them in your dishwasher if possible. Otherwise, fill up a sink with hot soapy water and let them sit. 

Spray oven cleaner inside the entire oven, covering all surfaces. Let this sit while you finish cleaning the kitchen. Return back to this later for a simple wipe clean process. 

Degrease the Cabinets and Walls

Your stovetop isn't the only thing getting splashed with grease and food. Your cabinets and kitchen walls are subjected to this as well. Degrease your cabinets and walls using a degreaser. 

If you don't have a degreaser, then consider using gentle dish soap to help remove grease and food stains. Make sure to start at the top and work your way down so any grease or dirty water that drips will be cleaned up as you go!

Reorganize Cabinets and Pantries

Now that your walls and cabinets are clean, it's time to reorganize the inside of them! To do this, you want to again, remove everything from the inside. Remove all food and pots and pans. 

Attempt to find pots and pans holders that you can install on the ceiling or on the wall to save space inside of the cabinets. Then, transfer all food items into plastic containers. Plastic containers will help your food last longer and will keep pests away. 

Before returning everything to the cabinets or pantry, you should wipe down all shelves and walls. Wait until they're completely dry before replacing your items. 

Polish Your Pots and Pans

You might wash your pots and pans on a regular basis, but washing doesn't always remove cooked-on food particles or tarnish. Research the type of material your pots and pans are made out of. This will affect how you polish them. 

For example, a stainless steel pot or pan will need to boil soapy water inside of it for 10 minutes before washing it out. A copper pot or pan will require a paste made of equal parts lemon juice and salt. Learn what material you're working with and then research the best method of deep cleaning that material. 

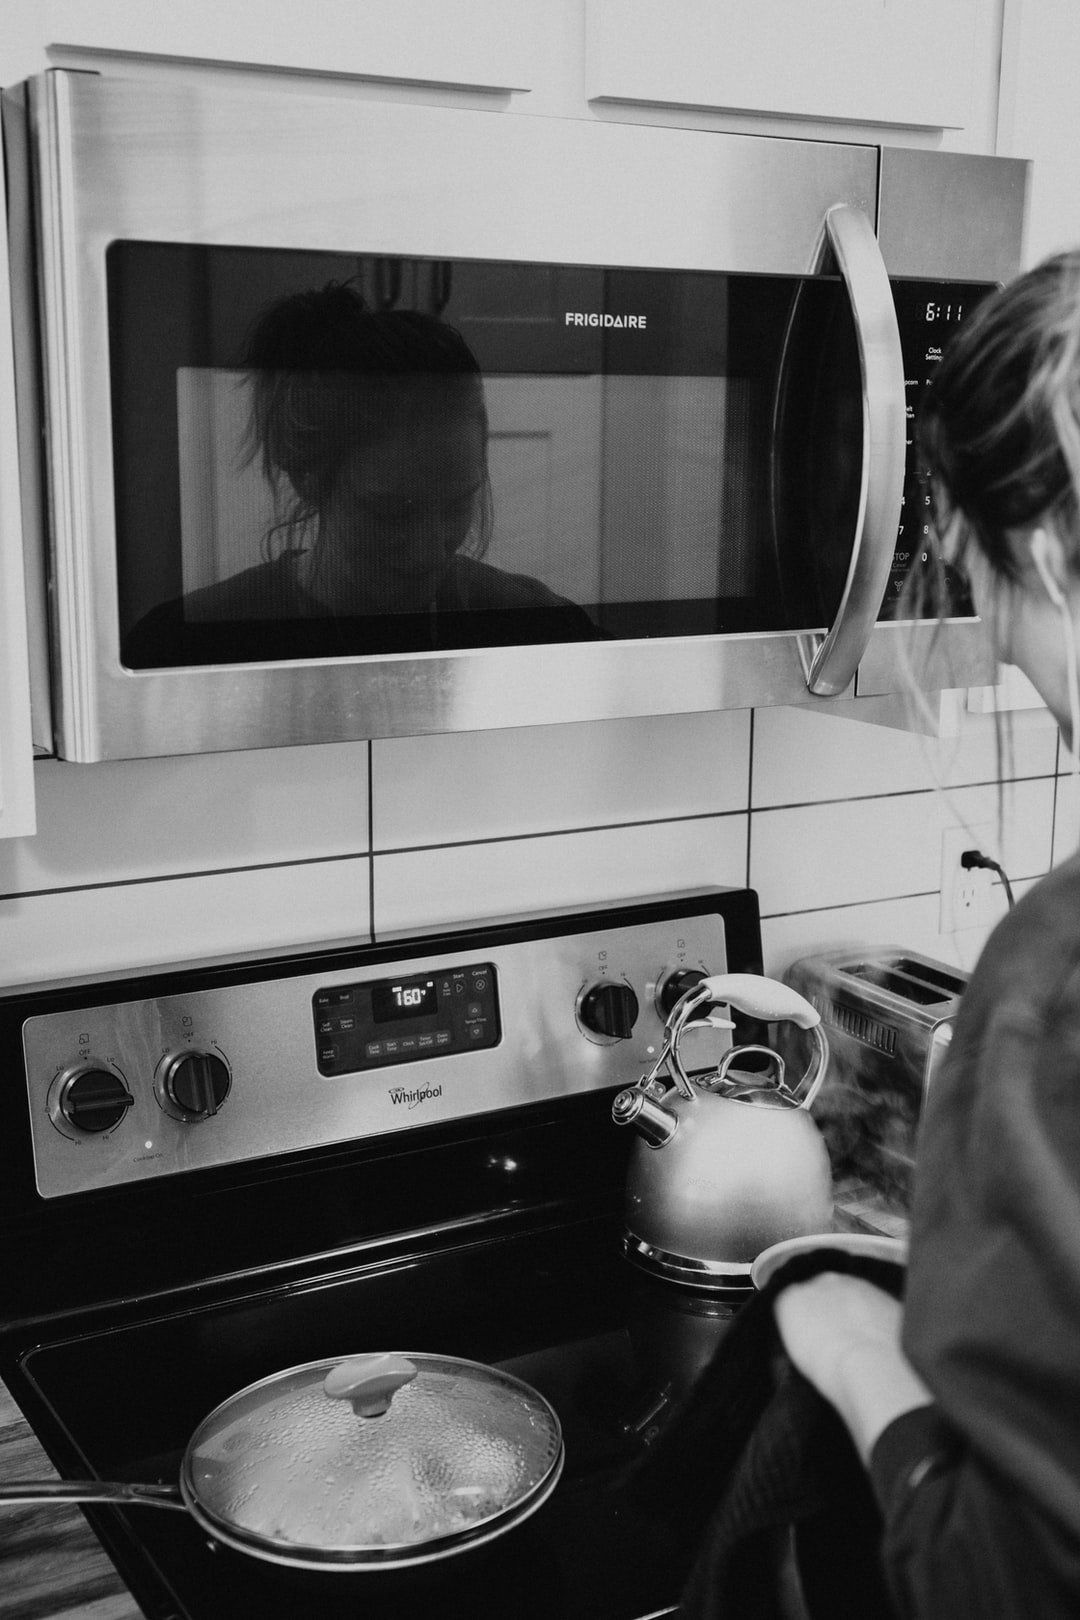
Wipe Down All Appliances

It's often easy to forget to wipe down all of your appliances. They might seem clean on the outside, so you don't stop to think about cleaning them any further. Although it's important to clean the outside of all appliances, it's also important to clean and sanitize the inside of them as well. 

Take the time to wipe down your microwave, toaster, coffee maker, blender, and any other appliances you own. If you don't use certain appliances on a daily basis, then find a place for them in your pantry or cabinets to save counter space. After completing this step, you can then move on to cleaning your countertops. 

Sanitize and Clean Your Counters

To clean your countertops in the proper manner, you should start by wiping down the surface to remove any loose food crumbs. Then, choose the cleaning product of your choice to clean the counters. The cleaning product you use should be safe for the material your counters are made from.

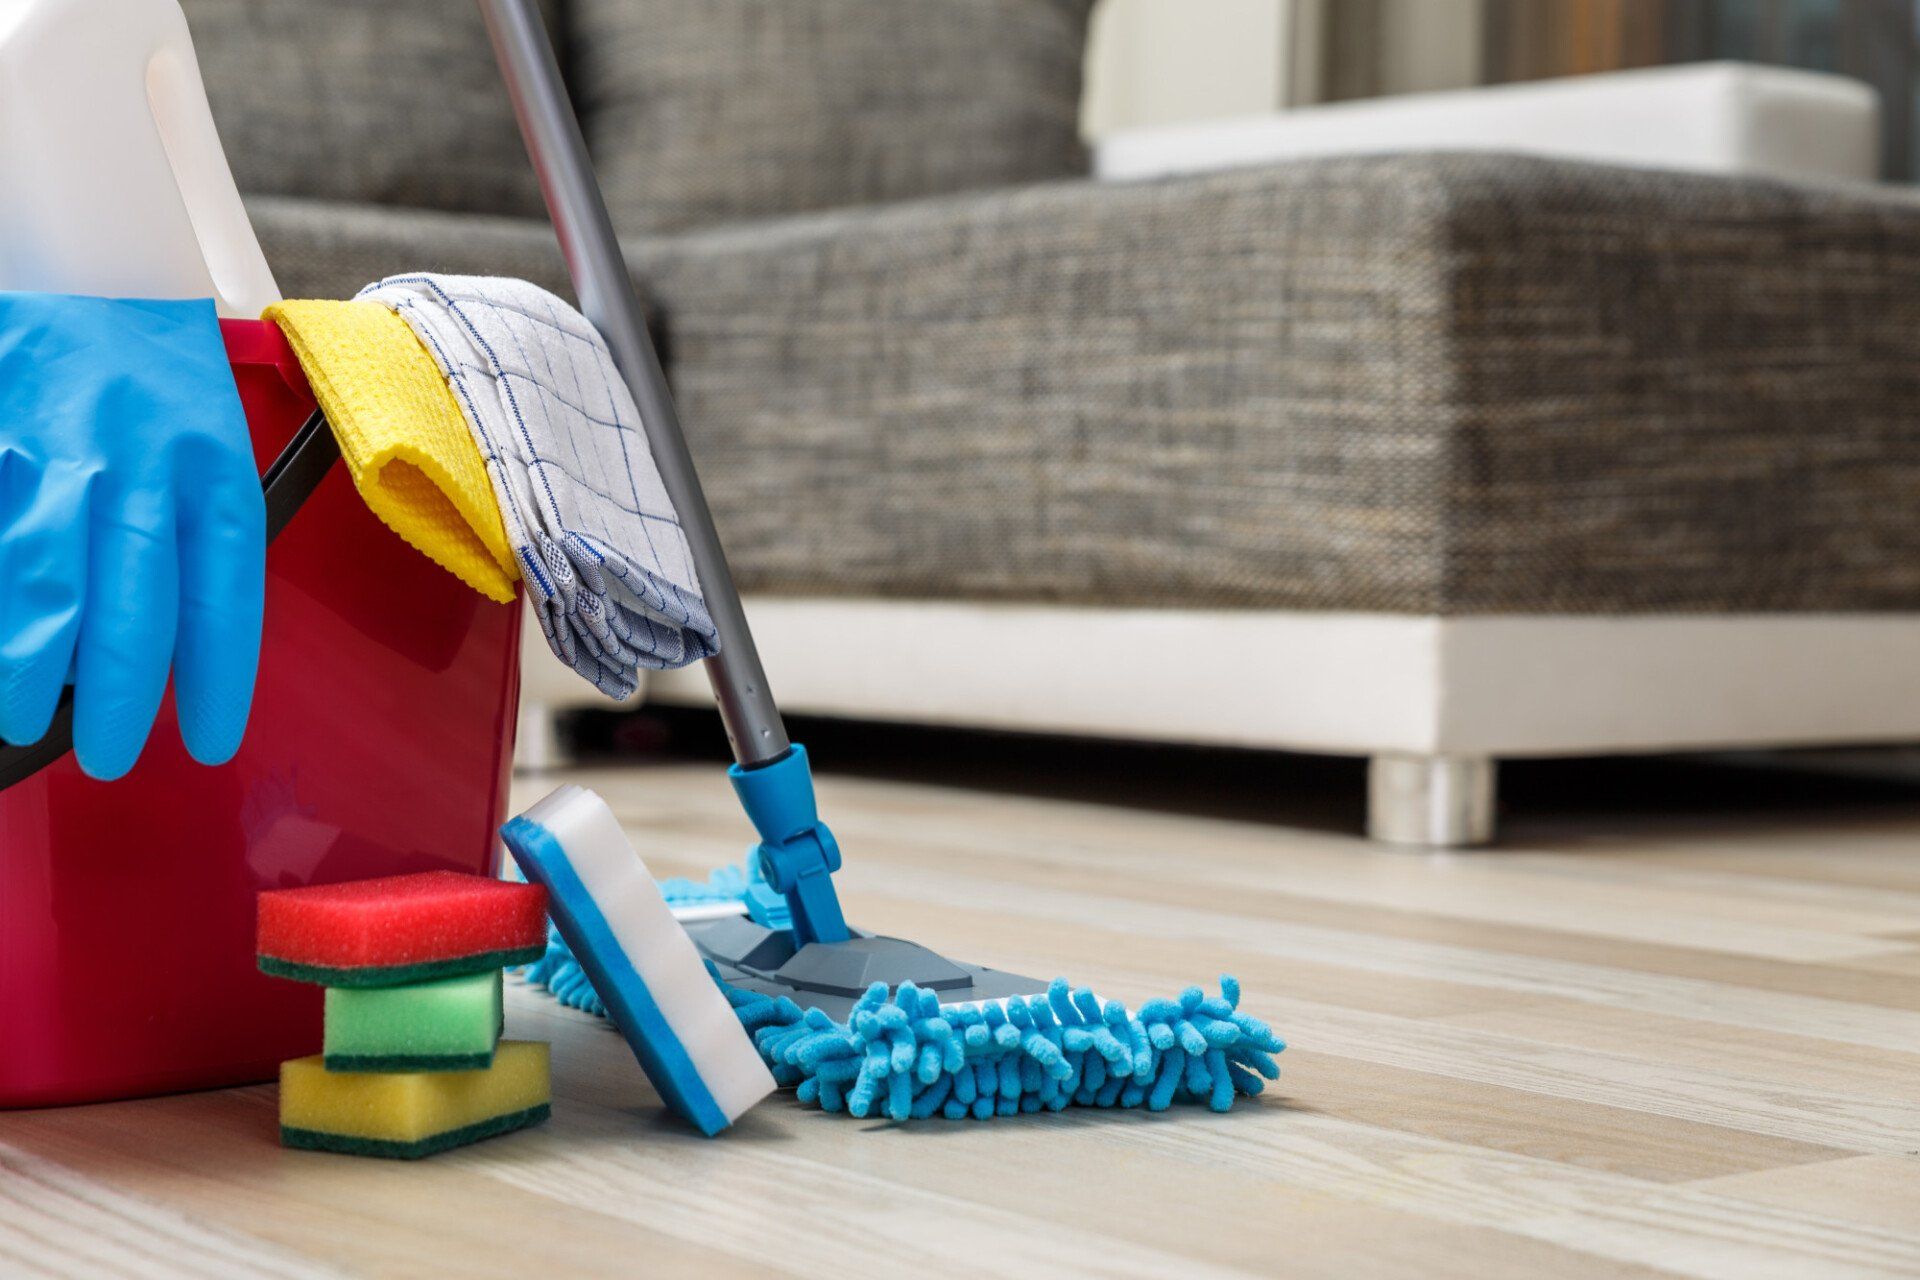
Then, you'll want to finish by using a sanitizing product on your counters as well. Once the counters are clean, you can then sweep, vacuum, and mop the floors. 

Hire Professional Kitchen Cleaning Services

If you want the kitchen cleaning done right, then look no further than Sparkly Clean Dallas. At Sparkly Clean Dallas, our goal is to WOW you from start to finish. We strive for excellence in all the services we provide. 

We work hard to keep your home clean so you can relax and focus on more important things. We'll come to either your home or business and won't leave until the entire place is as clean as we'd want for our own space. 

Contact us for a list of services, price inquiries, and to book your appointment today.


By sites 02 Aug, 2022
Are you looking to hire Sprakly Clean Dallas cleaning service? You can read about some of the most common reasons for hiring these services along with their benefits.
By sites 19 Jun, 2022
Would you like to know how to clean a microwave? Do you know how to go about it? Read on to learn what you need to know on the subject.
By sites 17 May, 2022
Did you know that nine in 10 US households now own at least one microwave? That popularity is due to microwaves being able to cook food faster than standard ovens. That makes them convenient and time-saving. Moreover, they often consume less energy, with some using up to 80% less than traditional ovens. Unfortunately, dirty and ill-maintained microwaves may fail to heat food evenly. That can render them unable to kill bacteria and cook food as they should. So for your safety, it's best to learn how to clean a microwave. Don't worry, though, as that's what we'll teach you in this post. So, read on as we've rounded up the top microwave cleaning tips you can follow today. Wipe Spills and Splatters Right Away The trick to no-frills microwave cleaning is to wipe spills and splatters immediately. Otherwise, exposure to air can harden them and allow them to cling to the appliance's surfaces. Moreover, not cleaning them right away can cause their smells to mix with other foods. So, the next time you use your microwave, let it cool and then check its interiors for spills and splatters. If there's any, grab a clean cloth, moisten it, and wipe down the appliance's interior surfaces. If it's an oily mess, remove the turntable and wash it with soap and warm water. Use a soapy sponge to clean the inside of the microwave, too. That can help cut through and remove the grease before it turns jelly-like. Heat Some Wet Paper Towels As long as your microwave doesn't smell weird and only has a few splatters, this trick may be enough to clean it. Start by taking a bunch of paper towels and placing them on a microwave-safe plate or bowl. Then, run the kitchen tap to soak them up. Next, pop this inside the appliance and run it on high for two to three minutes. Open the door and be careful not to hurt yourself from the steam. Once the inside of the microwave is cool enough, remove the plate and wipe down the surfaces with a dry towel. Give the interiors a final inspection to see if you got rid of all the splatters. Use Soapy Steam Does your microwave smell a bit iffy and have a few dried-up food debris? In that case, try using soapy steam to remove the smells and the baked-on stuff. First, get a microwave-safe bowl and fill it with one cup of water. Then, add a tablespoon of liquid dishwashing soap and stir it well. Next, pop this in the microwave and run it on high for about one minute. Open the door slowly and let the steam escape. Grab a clean kitchen sponge, and use that to wipe down the microwave's surfaces. Rub it gently over any stubborn caked-on food debris until it dissolves or loosens up. Rinse your sponge and the inside of your microwave. If there's a strong soap odor, give it another rinse and leave the door with a slight crack for a few minutes. That opening should allow the soap's smells to dissipate and escape. Bring in the Vinegar Vinegar is mostly water, but it also contains 5% acetic acid. That acid gives it antimicrobial properties that make it excellent for food preservation. In short, it's why vinegar is a common ingredient in pickling fruits and vegetables. However, it's also because of acetic acid that vinegar can dissolve organic stains . In addition, it can cut through grease and even clean glass without leaving streaks. All those effects make it an excellent, cost-effective way to clean a microwave. For the same reasons, it's a great tool to use while you carry out your bathroom cleaning tasks. It's best to use distilled white vinegar, though, as the colored ones can cause staining. Plus, it's cheaper than most other forms of vinegar, adding to its benefits as a cleaner. To use vinegar when cleaning a microwave, pour half a cup of this acidic liquid into a microwave-safe bowl. Then, mix in half a cup of clean water. Stir the mixture, and then place the bowl inside your microwave. Set the timer for about one to two minutes, or until you can see the liquid steaming. Once it does, turn the microwave off and then let it rest with the door closed for a few minutes. After that, crack open the door and allow any remaining steam to dissipate. Then, use a clean piece of cloth to wipe down every inch of the inside of your microwave. Scrub With Baking Soda According to the latest statistics, 46% of people in the US are baking more. If you're one of these folks, you likely keep a box or two of baking soda in your pantry. That's fantastic news because baking soda, like vinegar, is an excellent cleaner. It also works like the diluted acetic acid in that it dissolves organic materials . The chief difference is that baking soda is alkaline, but it still removes grease and food debris. Plus, baking soda's fine crystallized structure makes it a gentle, scratch-free abrasive. You can take advantage of that by using it as a scrub for the inside of your microwave. Moreover, this fine powdery stuff also acts as a deodorizer, helping neutralize odors. To clean your microwave with baking soda, create a thick paste by mixing about half a cup of it with a few drops of water. Mix well, apply it straight onto hardened food bits, and let it sit for about 15 minutes. Then, use a paper towel or a rag to wipe away the paste and the dislodged food. After you've taken care of the stubborn food spills, grab another piece of paper towel and put some of the paste on it. You can gently rub this all over the interior sides of your microwave. That should take care of the other splatters while also deodorizing the appliance. Once you're happy with the results, rinse the inside of your microwave with a damp towel. De-Grease the Door Now that you're onto door cleaning, you no longer need to turn the microwave on, so it's best to unplug it. That can help prevent shocks, which aren't only painful but can also cause injuries. Once unplugged, examine the appliance's door to see if it has a rubber seal or gasket. If so, please don't use the vinegar solution to clean it. Otherwise, the acid can dry out the rubber parts, causing the seal or gasket to fail. Instead, you can dissolve some baking soda in water. Use this to dampen a towel, and then wipe oils and grease off the door. Then, rinse off the white solution with towels moistened with plain water. Eliminate Greasy Window Streaks You can use the vinegar solution to clean the outside of your microwave door. First, grab a towel and then dip one side into the cleaning mixture. Next, thoroughly wring and fold it to ensure it only touches a portion of the window. Work the towel from one side to the other, and use another towel to wipe dry that area. That can help prevent any excess moisture from dripping down the window. Drying it immediately also ensures a streak-free window. Wipe Down the Exterior Please make sure that your microwave remains unplugged before cleaning its exterior. If it is, you can then begin wiping down its sides with a sponge or a towel moistened with soapy water. The keyword here is "moistened," not "sopping," as you don't want any liquid to drip into the vents. So, be sure to thoroughly wring the sponge or towel before you clean the outside of your microwave. Avoid running it over the openings, as drips can cause an electrical short in the appliance. Then, as soon as you're happy with the results, rinse the exterior with a towel dampened with plain water. Finally, wipe it down with another piece of dry, clean cloth. Call the Pros for Help While cleaning a microwave doesn't take long, cleaning a kitchen can take hours. After all, you'd need to mop the floors, scrub the sink, and make your countertops sparkle. It may also be time to clean your fridge, range, stove, and oven. If you don't have time to do all that, it may be best to hire professional cleaners . They're your best if you can't clean your kitchen, much less deep-clean your entire home. By calling them in, you can rest assured that it's not just your microwave that will be sparkling clean. That's How to Clean a Microwave Now that you know how to clean a microwave, it's best to make wiping it after every use a habit. That can help keep spills and splatters from hardening. However, you can also use soap, vinegar, or baking soda for more stubborn debris. If you don't have much time to clean your kitchen or home, it may be best to contact us here at Sparkly Clean Dallas. We provide whole-house cleaning services, so call us today for a personalized quote!
More Posts
Share by: